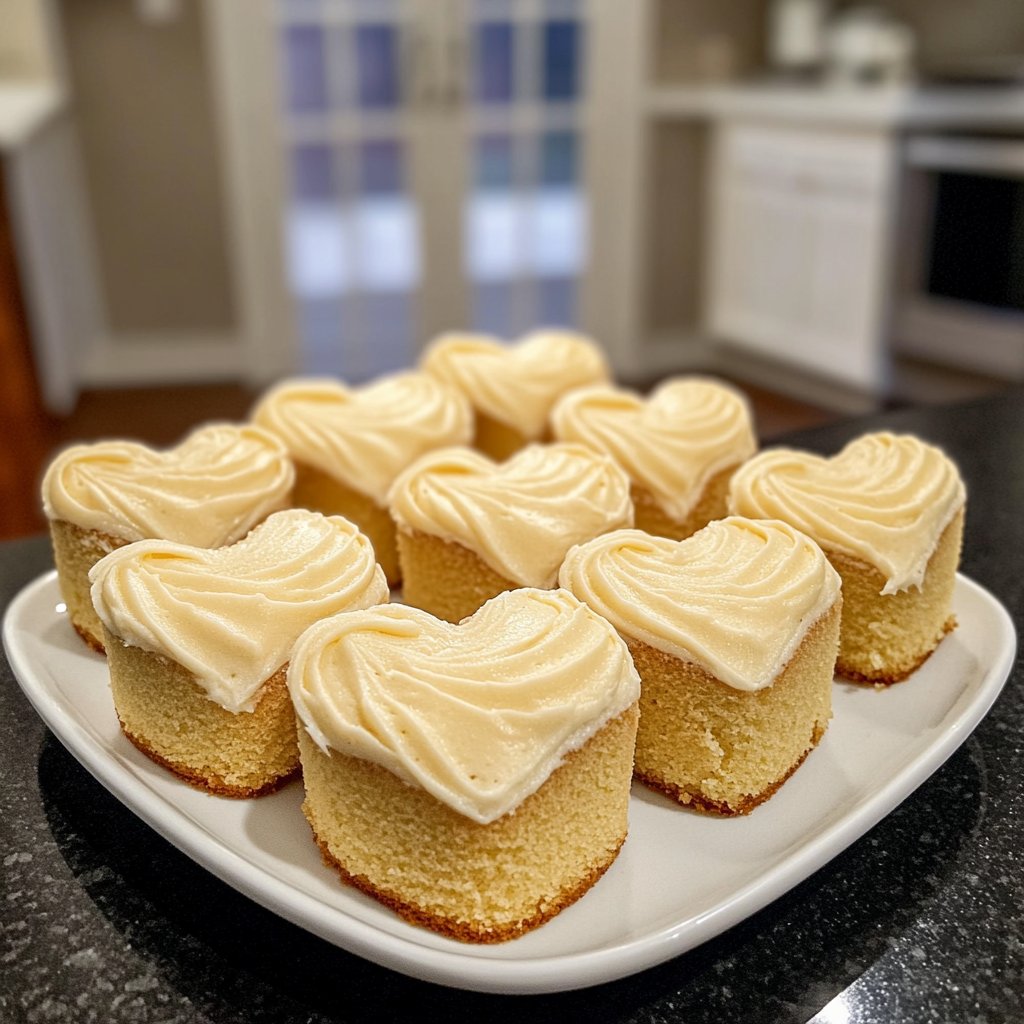
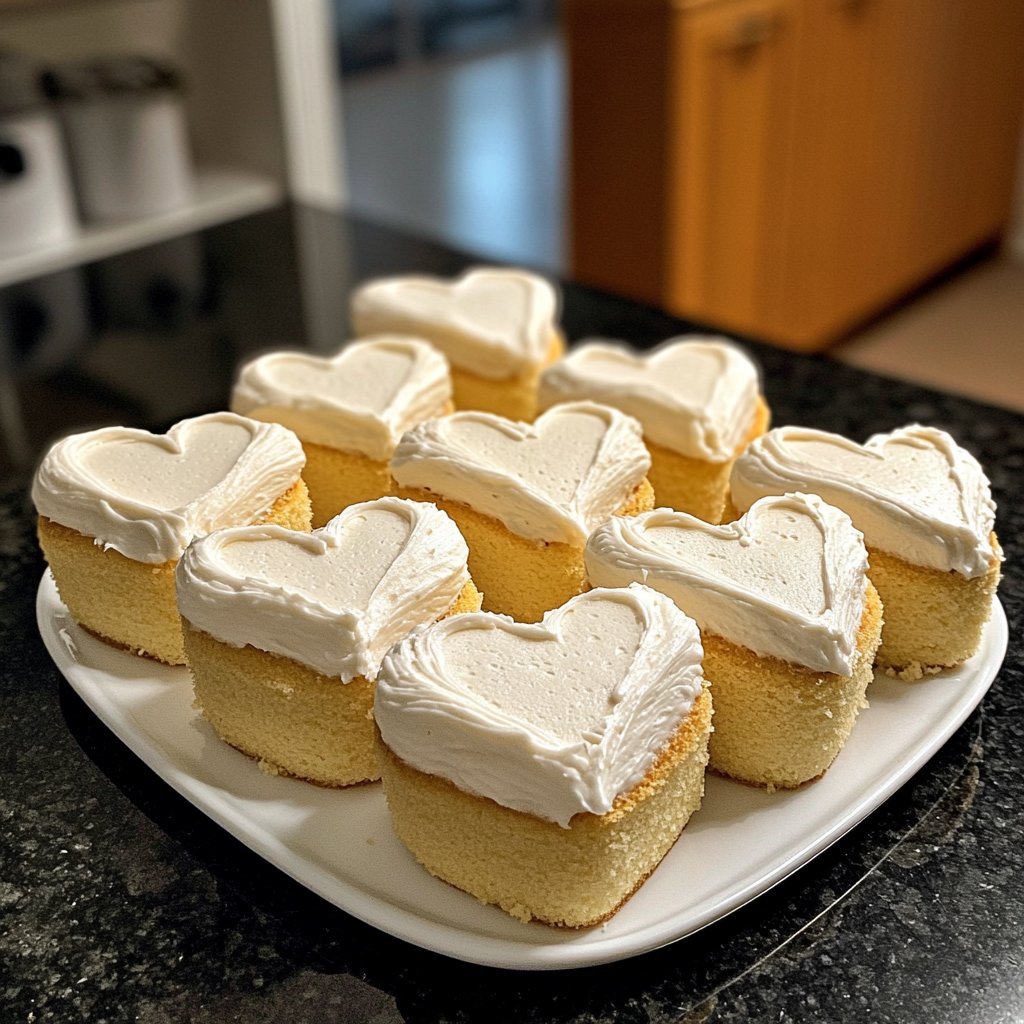
Mini Heart Cake with Vanilla Sponge
Highlighted under: Bakes & Treats
I absolutely adore baking mini heart cakes, and this Vanilla Sponge version is one of my favorites. The light texture and subtle sweetness of the sponge make it perfect for any occasion. Over the years, I've found that the key to achieving that perfect rise is in the technique of gently folding the egg whites into the batter. This has transformed my cakes from dense to delightfully airy! Whether it's a birthday, anniversary, or just a special treat, these cakes are sure to bring joy.
Baking these mini heart cakes has become a cherished tradition in my home. Every time I make them, the aroma of vanilla fills the kitchen, creating an atmosphere that feels both festive and comforting. Each tiny cake is a little masterpiece, and I find joy in decorating them with fresh fruits and whipped cream.
Through trial and error, I’ve discovered that letting the sponge cool completely before removing it from the pans is essential. This helps maintain their beautiful shape and light texture, ensuring that every bite is a soft, melt-in-your-mouth experience that captures hearts.
Why You'll Love This Recipe
- Delightfully light and fluffy vanilla sponge
- Perfectly portioned for sharing or indulgence
- Cute heart shape adds a special touch to any occasion
Mastering the Egg White Technique
A crucial step in achieving a light and fluffy vanilla sponge is the technique of folding in egg whites. When separating the eggs, be careful not to get any yolk in the whites, as this can inhibit their ability to whip up properly. Once you have beaten the whites to a soft peak, gently incorporate them into the batter using a spatula. This process helps to maintain the airiness of the mixture, giving your cakes that desirable lift. Aim for a consistent, marbled appearance without over-mixing, which can deflate the batter.
To achieve the best texture, I recommend using room-temperature eggs. They whip up more easily, creating a higher volume. If you're short on time, you can immerse cold eggs in warm water for about 10 minutes before separating them. This little trick makes it easier to incorporate air into the egg whites, leading to cakes that rise beautifully in the oven!
Decorative Touches to Elevate Your Cake
When it comes to decorating your mini heart cakes, consider using fresh fruits to not only enhance the visual appeal but also add a burst of flavor. Strawberries and blueberries work wonderfully, but you can also experiment with raspberries or kiwi slices. These fruits complement the vanilla sponge's sweetness while providing a refreshing contrast. For a cohesive look, arrange the fruits in a decorative pattern on top of the whipped cream.
Dusting your cakes with powdered sugar just before serving adds a touch of elegance. I find that using a fine mesh sieve allows for an even distribution, preventing clumps and ensuring a delicate finish. This simple step transforms the cake from delightful to exquisite, making it a perfect centerpiece for any celebration.
Storage and Make-Ahead Tips
If you're looking to prepare these mini heart cakes in advance, you can bake them a day ahead. Once the cakes have cooled completely, wrap them tightly in plastic wrap and store them at room temperature. This method helps to keep the sponge moist while allowing the flavors to develop further. However, avoid decorating them until just before serving to maintain the freshness of the whipped cream and fruits.
For longer storage, these cakes can also be frozen. I recommend wrapping each mini cake individually in plastic wrap and placing them in an airtight container. They can be stored in the freezer for up to three months. When you're ready to enjoy them, simply thaw in the refrigerator overnight. This way, you can have a sweet treat on hand for unexpected guests or spontaneous celebrations!
Ingredients
For the Vanilla Sponge
- 1 cup all-purpose flour
- 1/2 cup granulated sugar
- 1/2 cup unsalted butter, softened
- 2 large eggs
- 1 tablespoon vanilla extract
- 1 teaspoon baking powder
- 1/4 teaspoon salt
For Decoration
- Whipped cream
- Fresh fruits (strawberries, blueberries)
- Powdered sugar, for dusting
Instructions
Prepare the Oven and Pans
Preheat your oven to 350°F (175°C). Grease and flour mini heart-shaped cake pans.
Mix the Batter
In a bowl, cream together the softened butter and sugar until light and fluffy. Beat in the eggs one at a time, then stir in the vanilla extract.
Combine Dry Ingredients
In a separate bowl, whisk together the flour, baking powder, and salt. Gradually add this mixture to the butter mixture, mixing until just combined.
Bake the Cakes
Divide the batter evenly into the prepared pans. Bake for 20-25 minutes, or until a toothpick inserted comes out clean. Let cool in the pans for 10 minutes before transferring to a wire rack.
Decorate the Cakes
Once completely cooled, decorate each mini cake with whipped cream and fresh fruits. Dust with powdered sugar if desired.
Pro Tips
- For a richer flavor, consider adding a tablespoon of milk to the batter. Ensure the eggs are at room temperature for better emulsification.
Ingredient Insights
The quality of your vanilla extract plays a significant role in the flavor profile of your cake. Opt for pure vanilla extract when possible; it has a more robust and authentic flavor compared to imitation versions. Vanilla bean paste is another fantastic alternative that can provide brown flecks and intense flavor, elevating your cake's taste even further.
The butter in this recipe not only contributes to the cake's moisture but also enhances its richness. I prefer using unsalted butter, as it allows you to control the amount of salt in your cake. If you're looking for a dairy-free alternative, you can substitute with coconut oil or a dairy-free butter substitute, but be mindful that this may slightly alter the cake's texture.
Troubleshooting Common Issues
If your cakes turn out dense rather than light and airy, it may be due to over-mixing the batter after adding the dry ingredients. Always mix until just combined to avoid deflating the egg whites incorporated earlier. If you find that your cakes are domed on top instead of flat, this can be a sign that your oven temperature is too high. Consider using an oven thermometer to ensure accuracy.
Sometimes, the cakes might stick to the pans even after greasing. A good practice is to line the bottom of each heart pan with parchment paper, which provides an extra layer of protection. For easier removal, allow the cakes to cool in the pans for a full 10 minutes and then gently run a knife around the edges before inverting them.
Serving Suggestions
These mini heart cakes are perfect for individual servings at parties, but they can also be served as a lovely dessert option for a romantic dinner. I often pair them with a scoop of vanilla ice cream or a drizzle of chocolate sauce for an indulgent finish. The combination of the warm, soft sponge with the cold ice cream creates a delicious contrast that is always a hit.
For an added layer of flavor, consider making a simple berry compote by simmering mixed berries with a bit of sugar. This vibrant sauce can be poured over the cakes to add moisture and a delightful berry taste. It also enhances the visual appeal, making your dessert even more enchanting for any occasion.
Questions About Recipes
→ Can I use a different shape of pan?
Absolutely! You can use round or square pans; just adjust the baking time as needed.
→ How can I store leftovers?
Keep the cakes in an airtight container in the refrigerator for up to three days.
→ Can I freeze these cakes?
Yes! Wrap them individually in plastic wrap and store in the freezer for up to a month.
→ What can I substitute for eggs?
You can use a flaxseed meal or applesauce as an egg substitute if you're looking for a vegan option.
Mini Heart Cake with Vanilla Sponge
Created by: Madeline Archer
Recipe Type: Bakes & Treats
Skill Level: Intermediate
Final Quantity: 6 mini cakes
What You'll Need
For the Vanilla Sponge
- 1 cup all-purpose flour
- 1/2 cup granulated sugar
- 1/2 cup unsalted butter, softened
- 2 large eggs
- 1 tablespoon vanilla extract
- 1 teaspoon baking powder
- 1/4 teaspoon salt
For Decoration
- Whipped cream
- Fresh fruits (strawberries, blueberries)
- Powdered sugar, for dusting
How-To Steps
Preheat your oven to 350°F (175°C). Grease and flour mini heart-shaped cake pans.
In a bowl, cream together the softened butter and sugar until light and fluffy. Beat in the eggs one at a time, then stir in the vanilla extract.
In a separate bowl, whisk together the flour, baking powder, and salt. Gradually add this mixture to the butter mixture, mixing until just combined.
Divide the batter evenly into the prepared pans. Bake for 20-25 minutes, or until a toothpick inserted comes out clean. Let cool in the pans for 10 minutes before transferring to a wire rack.
Once completely cooled, decorate each mini cake with whipped cream and fresh fruits. Dust with powdered sugar if desired.
Extra Tips
- For a richer flavor, consider adding a tablespoon of milk to the batter. Ensure the eggs are at room temperature for better emulsification.
Nutritional Breakdown (Per Serving)
- Calories: 240 kcal
- Total Fat: 12g
- Saturated Fat: 7g
- Cholesterol: 80mg
- Sodium: 100mg
- Total Carbohydrates: 30g
- Dietary Fiber: 1g
- Sugars: 15g
- Protein: 3g